How to Install Stardew Valley Mods (SMAPI Guide for Beginners)

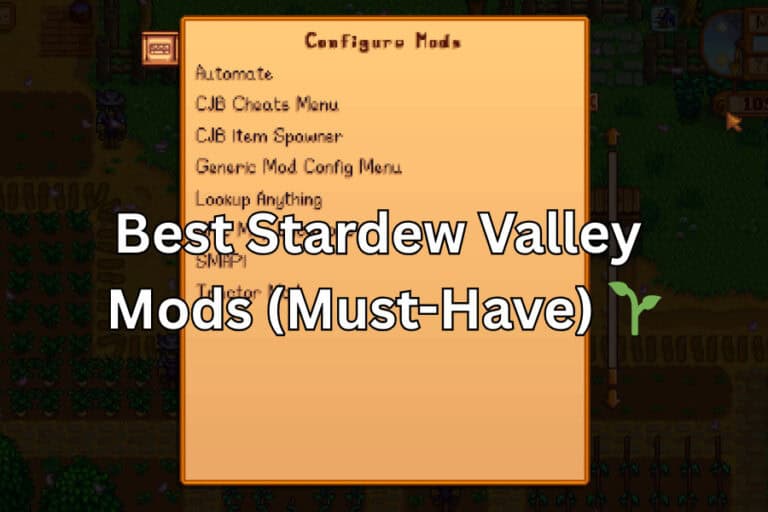
Installing mods is one of the easiest ways to expand Stardew Valley beyond the base game. With the right mods, you can improve graphics, automate farm work, add helpful tools, and unlock new gameplay features that make daily life on the farm much smoother.
If you’re new to modding, the process might sound complicated. In reality, it only takes a few steps to install Stardew Valley mods once you understand how it works. Most Stardew Valley mods run through a mod loader called SMAPI, which allows the game to safely load and manage mod files.
I have a separate guide on How to Use SMAPI in Stardew Valley that you should check out first before reading this guide.
In this guide, you’ll learn how to install Stardew Valley mods step-by-step. We’ll cover how to download SMAPI, where to place your mods, how to launch the game with mods enabled, and how to troubleshoot common issues if something doesn’t work properly. By the end, you’ll be ready to start customizing your game with mods in just a few minutes.
What You Need Before Installing Stardew Valley Mods
Before you install Stardew Valley mods, there are a few things you should have ready. These tools ensure that your mods install correctly and run without errors.
| Requirement | Why You Need It |
|---|---|
| Stardew Valley (latest version) | Mods are designed for the latest version of the game, so you need to download the latest version to prevent common compatibility issues. |
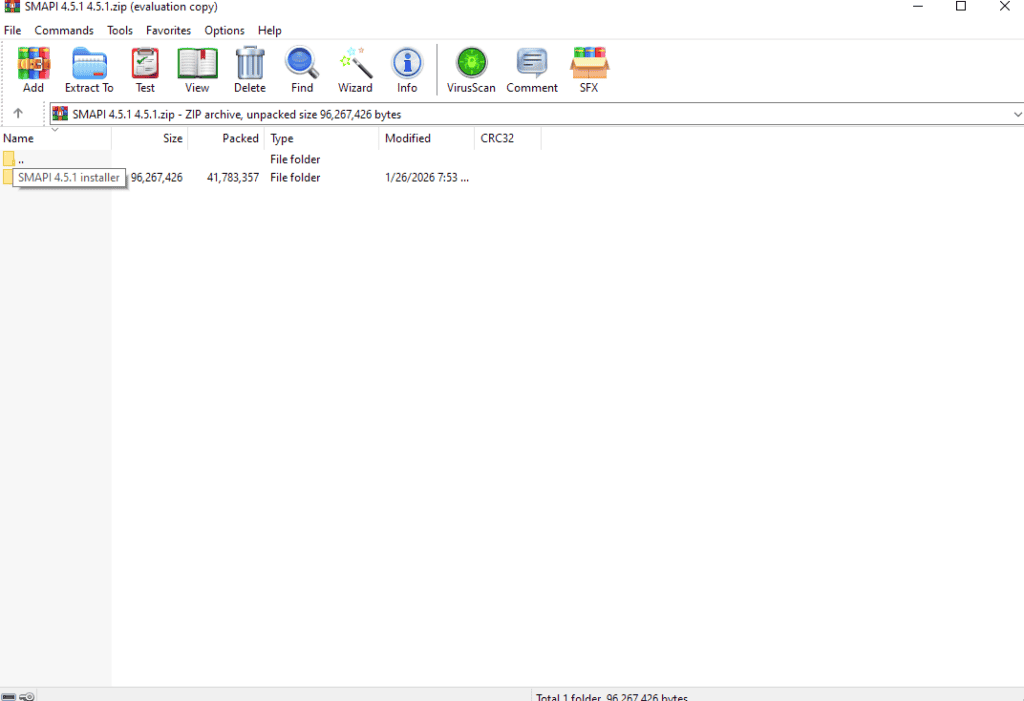
| SMAPI (Stardew Modding API) | SMAPI is the mod loader that allows Stardew Valley to run mods and manage them safely. Be sure to download the latest version, which is 4.5.1 |
| Mod download source (Nexus Mods) | Most Stardew Valley mods are hosted on Nexus Mods, where creators also list requirements and installation instructions. You can also find some mods listed on CurseForge. |
| ZIP extractor (WinRAR, 7-Zip, or Windows extractor) | Mods usually download as ZIP files, so you need a tool to extract them before placing them in the Mods folder. |
| Basic file navigation | Installing mods requires moving folders into the Stardew Valley Mods directory. |
Once you have these basics ready, you can move on to installing SMAPI and preparing your game for mods.
How to Install Stardew Valley Mods (Step-by-Step Guide)
Here’s how to install Stardew Valley mods on your PC:
Step 1: Install SMAPI
Most Stardew Valley mods require SMAPI (Stardew Modding API) to run. SMAPI acts as the mod loader, connecting your mods to the game and ensuring they load correctly.
If you haven’t installed SMAPI yet, you’ll need to do that before adding any mods.
Instead of repeating the full process here, follow our complete step-by-step tutorial:
How to Install and Use SMAPI in Stardew Valley
This guide covers:
- Downloading SMAPI
- Installing it on Windows
- Configuring Steam to launch the game with mods
- Troubleshooting installation problems
Once SMAPI is installed, your game will automatically create a Mods folder, which is where all Stardew Valley mods need to be placed.
Next, we’ll go over how to download Stardew Valley mods and place them in the correct folder.
Step 2: Download Stardew Valley Mods

After installing SMAPI, the next step is downloading the mods you want to use in your game.
Most Stardew Valley mods are hosted on Nexus Mods, the main platform for creators to upload their work, but you can also find others on CurseForge. Each mod page usually includes screenshots, a description of what the mod does, installation instructions, and a list of required files.
Pro Tip: Here’s a guide on how to use and download mods and custom content from CurseForge.
To download a mod:
- Visit the mod’s page on Nexus Mods or the creator’s official download page.
- Open the Files tab on the mod page.
- Download the Main File listed.
- The mod will usually download as a ZIP file.
After the download finishes, extract the ZIP file using your computer’s built-in extractor or a program like 7-Zip or WinRAR. Extracting the file will give you a folder containing the mod files.
Before installing the mod, it’s important to check the Requirements section on the mod page. Some mods rely on frameworks such as Content Patcher, JSON Assets, or SpaceCore to function properly.
Once the mod is extracted, the next step is to place it in your Stardew Valley Mods folder so the game can load it.
Step 3: Place Mods in the Stardew Valley Mods Folder
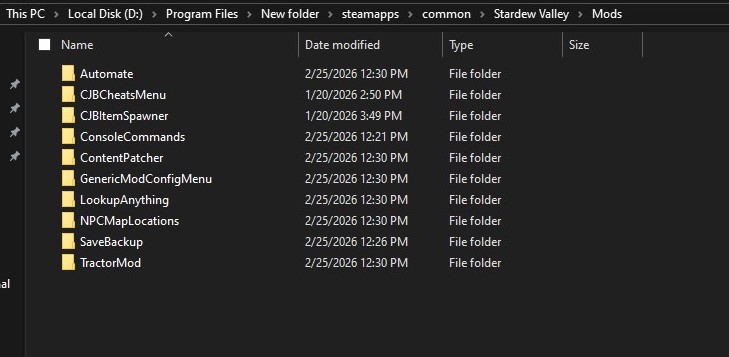
After downloading and extracting a mod, the next step is placing it inside your Stardew Valley Mods folder so the game can load it.
When you install SMAPI, it automatically creates a Mods folder inside your Stardew Valley game directory. This is where all mod folders must be placed.
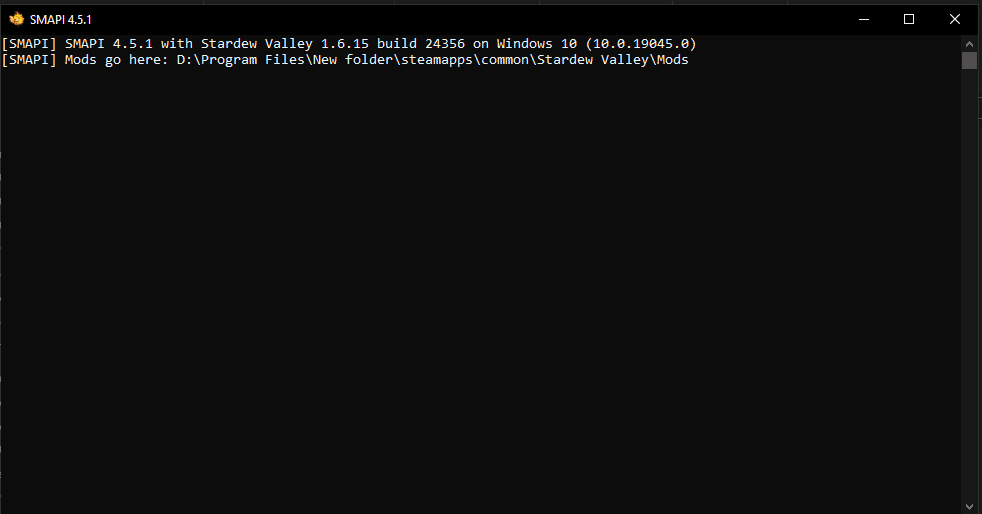
A typical Mods folder location on Windows looks like this: (see the picture above for reference)
C:\Program Files (x86)\Steam\steamapps\common\Stardew Valley\Mods
To install a mod:
- Open the folder you extracted from the downloaded ZIP file.
- Locate the mod folder inside it.
- Drag or copy that folder into your Stardew Valley Mods directory.
Your folder structure should look something like this:
Stardew Valley
 ├ Mods
 │ ├ CJB Cheats Menu
 │ ├ Tractor Mod
 │ ├ NPC Map Locations
Each mod should have its own folder inside the Mods directory. Avoid placing ZIP files directly in the Mods folder, as the game won’t recognize them unless they are extracted.
Once the mod is placed in the Mods folder, Stardew Valley will automatically load it the next time you start the game through SMAPI.
Step 4: Launch Stardew Valley With Mods
After placing your mods in the Mods folder, the next step is to launch Stardew Valley through SMAPI so the game can load them.
If you installed SMAPI correctly, the game should automatically launch with mod support.
Steam users
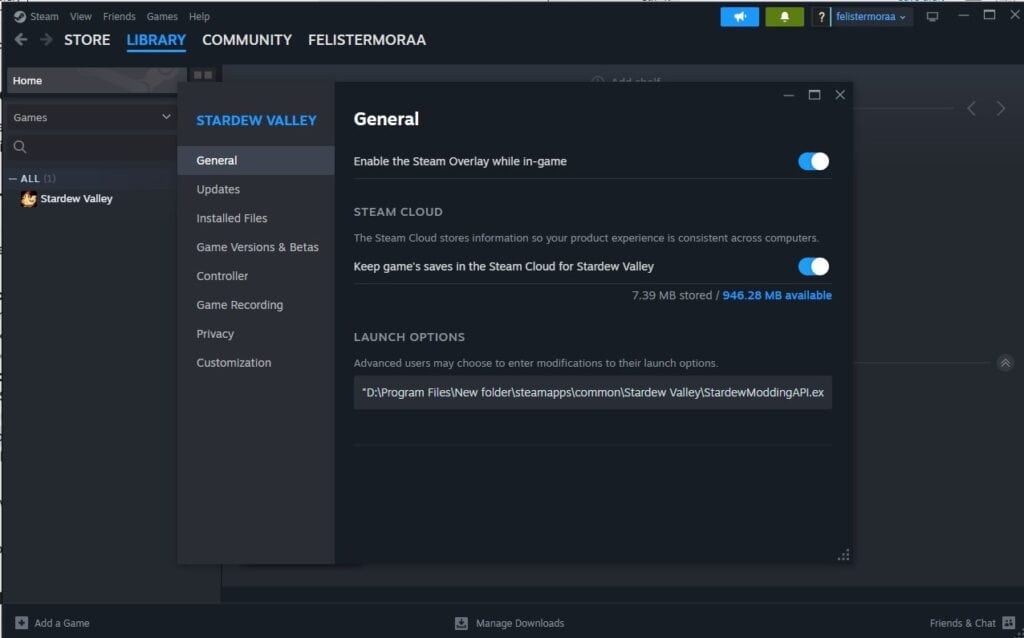
Most SMAPI installations configure Steam automatically. This means you can simply launch Stardew Valley from Steam, and SMAPI will run in the background.
When the game starts, you should see a black console window open alongside the game. This window shows SMAPI loading your installed mods.
Manual launch
You can also launch the game manually using the SMAPI executable.
Navigate to your Stardew Valley installation folder and run:
StardewModdingAPI.exe
This file starts Stardew Valley with SMAPI enabled and loads all the mods inside your Mods folder.
When the console window appears, you’ll see messages listing the mods that were successfully loaded. If a mod fails to load, SMAPI will display an error message explaining the issue.
Step 5: Check if Your Stardew Valley Mods Are Installed Correctly
After launching the game through SMAPI, it’s a good idea to confirm that your mods loaded properly.
When the game starts, a SMAPI console window will open alongside Stardew Valley. This window displays information about the mods currently being loaded.
Look for messages similar to these:
- Loaded X mods
- Content Patcher loaded
- CJB Cheats Menu ready
- NPC Map Locations initialized
These messages indicate that the mods were detected and loaded successfully.
If a mod fails to load, SMAPI will display a red error message explaining the problem. Common causes for this are missing required mods, outdated mod versions, or incorrect folder placement.
You can also confirm that a mod is working by checking for its features in-game. For example, some mods add new menu options, visual changes, or additional gameplay tools.
If everything loads without errors, your Stardew Valley mods are installed correctly and are ready to use.
Step 6: How to Remove Stardew Valley Mods
If you decide you no longer want a mod, removing it is very simple.
All Stardew Valley mods are stored inside the Mods folder, so uninstalling a mod only requires deleting its folder.
To remove a mod:
- Open your Stardew Valley game folder.
- Navigate to the Mods directory.
- Find the folder for the mod you want to remove.
- Delete that folder.
Once the folder is removed, launch the game again through SMAPI. The mod will no longer load, and the game will run without it.
In most cases, removing a mod will not affect your save file. However, mods that add new items, buildings, or gameplay systems may leave missing objects behind if removed mid-playthrough. Because of this, it’s always a good idea to back up your save files before installing or removing mods.
FAQ About Installing Stardew Valley Mods
Do I need SMAPI to install Stardew Valley mods?
Yes. Most Stardew Valley mods require SMAPI (Stardew Modding API) to run. SMAPI acts as the mod loader that allows the game to detect and load mod files safely.
Where should I download Stardew Valley mods?
The safest and most popular place to download Stardew Valley mods is Nexus Mods. Most creators upload their mods there and include installation instructions, requirements, and compatibility notes.
Here at MHM, we also have curated lists of Stardew Valley mods you can download.
Why aren’t my Stardew Valley mods working?
Mods usually fail to load for one of these reasons:
- The mod folder was placed incorrectly in the Mods directory
- Required framework mods are missing
- The mod is outdated and incompatible with the latest game version
- The mod ZIP file wasn’t extracted before installation
Checking the SMAPI console window when launching the game to help identify the issue.
Can you install multiple Stardew Valley mods at once?
Yes. Stardew Valley supports running many mods at the same time, as long as they are compatible with each other and with the current version of the game.
Can Stardew Valley mods break my save file?
Most mods are safe to install and remove. However, mods that add new items, crops, buildings, or gameplay systems may affect your save if removed during a playthrough. It’s always recommended to back up your save files before installing new mods.
Where are Stardew Valley save files located?
On Windows, Stardew Valley save files are usually located here:
C:\Users\[YourUsername]\AppData\Roaming\StardewValley\Saves
Back up this folder to restore your progress if something goes wrong with a mod installation.
Conclusion
I hope this detailed guide helps you install Stardew Valley mods on your PC correctly. Once SMAPI is installed and you know where your Mods folder is located, adding new mods becomes a simple process of downloading, extracting, and placing the mod folder in the correct directory.
Mods can dramatically improve your Stardew Valley experience, whether you’re adding quality-of-life tools, visual upgrades, or entirely new gameplay features. With thousands of mods available, you can customize the game to match exactly how you want to play.
If you’re just getting started, try installing a few beginner-friendly mods first and gradually expand your mod collection as you become more comfortable managing them.